How to Add Texture in Unity 3D
For many beginner designers, adding textures to models in Unity 3D can be a challenging task. This process can be especially overwhelming when dealing with complex models or large scenes. As a 3D designer myself, I’ve faced similar challenges and, through trial and error, have developed some useful techniques to streamline the process. In this article, I’ll walk you through the steps of adding textures to 3D models in Unity 3D, covering everything from selecting the right texture to creating materials, mapping textures, and optimization. These tips will help you handle textures with more ease and improve the quality of your projects.
This guide will detail the complete process of adding textures in Unity 3D, focusing on texture selection, material creation, texture mapping, and performance optimization. By following these steps, you'll be able to apply textures effectively and improve the visual appeal and performance of your 3D models.

1. Prepare the 3D Model
Before applying textures, it’s essential to ensure that your 3D model is free from errors and has a clean topology. Issues like incorrect normals, duplicate vertices, or unnecessary faces can all affect how textures are displayed. Once your model is in good shape, you can move on to texturing. Here are some key things to check:
Check Normal Directions: Incorrect normals will cause textures to display incorrectly or appear flipped. You can adjust normals using the “Recalculate Normals” feature in your 3D software.
Clean Up Duplicate Vertices: Duplicate vertices can cause rendering issues. Use the “Merge Vertices” tool to clean up any unnecessary duplicates.
Optimize Topology: A complex or messy topology can lead to texture stretching or distortion. A clean, organized mesh will ensure that the texture maps accurately.
2. Choose the Right Texture
In Unity, there are different types of textures you can use to enhance the appearance of your models. When selecting textures, it's important to consider the intended use of your model and the rendering requirements of your scene. Common texture types include:
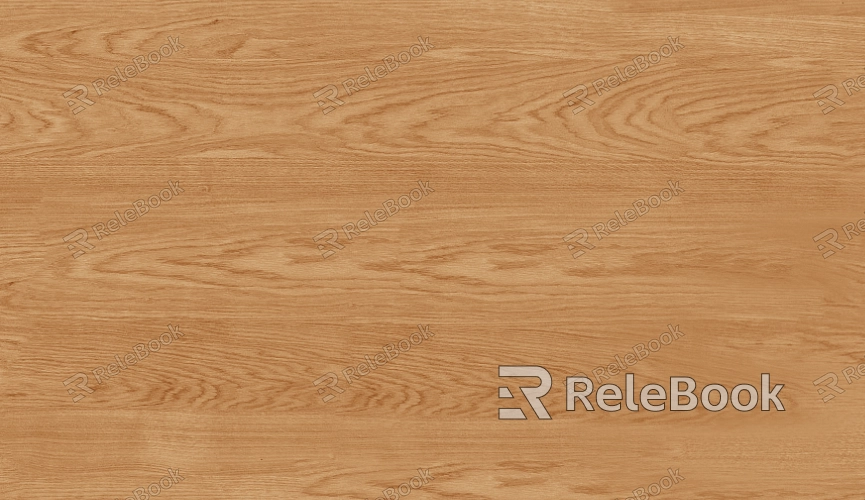
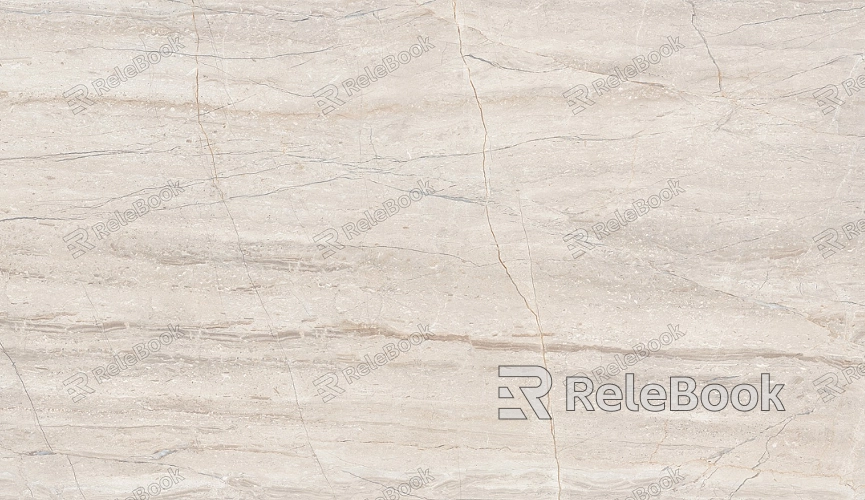
Image Textures: The most commonly used texture type, suitable for surfaces like walls, floors, and skin. Common formats include JPG, PNG, and TGA.
Procedural Textures: These textures, such as noise or wave patterns, are often used to simulate natural elements like wood, stone, or clouds.
Normal Maps: These add surface detail and depth to a model without altering the underlying geometry, making the surface appear more realistic.
Choose textures based on the needs of your project. If you’re struggling to find high-quality texture resources, consider visiting Relebook to download a range of 3D textures that can save you time and improve your workflow.
3. Create a Material and Apply the Texture
In Unity, a material is what binds the texture to the 3D model's surface. Creating and configuring a material is key to applying your texture. Here’s how to do it:
Create a New Material: Right-click in the Project panel and select "Create" > "Material" to create a new material.
Load the Texture: Drag the texture you’ve selected into the material’s relevant property (e.g., “Albedo”). This will automatically apply the texture to the material.
Adjust Material Properties: Depending on your project’s needs, you can tweak other material properties like reflectivity, glossiness, and normal maps to enhance the texture’s realism.

4. Texture Mapping and UV Unwrapping
For most 3D models, proper texture mapping is crucial. UV unwrapping is the process of flattening the 3D surface of the model so that textures can be applied correctly. A clean and accurate UV unwrap ensures that the texture is not stretched or distorted. Here are some tips:
Unwrap the Model in Editing Software: Use software like Blender to unwrap the UVs of your model, ensuring no overlapping UV islands.
Import the Model and Set Up UV Mapping: When you import the model into Unity, make sure that its UV mapping is correctly set up. You may need to tweak the settings to ensure proper texture placement.
5. Fine-Tune the Texture’s Appearance
Once your texture is applied, you can fine-tune its appearance in Unity to fit your rendering engine (whether real-time or offline rendering). Here are some common adjustments:
Adjust Texture Scaling: Use the material’s Tiling property to adjust how the texture is repeated across the model. This can help prevent the texture from becoming too stretched or too small.
Use Normal Maps: To add more detail to the surface, consider using normal maps to simulate bumps and indentations, giving your model a more three-dimensional appearance.
Lighting and Reflection Effects: Modify the lighting and reflection properties of the material to make the texture appear more realistic under different lighting conditions.
6. Optimize the Texture
Optimizing textures is essential for improving rendering performance. Proper texture optimization can speed up the rendering process and reduce the file size of your game or application. Here are some tips:
Compress Textures: Use compression formats (e.g., PNG, JPG) to reduce the texture file size, avoiding performance issues caused by large texture files.
Control Texture Resolution: Choose the appropriate texture resolution based on the project’s needs. While high-resolution textures offer more detail, they can also put a strain on the graphics card.
Use Suitable Texture Types: For large-scale scenes, consider using lower-resolution textures or simplifying material nodes to reduce the computational load.
This article has walked you through the process of adding textures to 3D models in Unity 3D, from preparing the model and selecting the right textures to creating materials, mapping textures, and optimizing performance. Once you’re familiar with these techniques, you’ll be able to handle textures more efficiently and improve both the visual quality and performance of your Unity projects.
If you're looking for high-quality 3D textures, SketchUp models, or 3ds Max models to help create your models and virtual environments, Relebook offers a wide selection of resources to enhance your work and achieve stunning visual results.

